What you need before you start
To use a physical CAN bus from a computer, you normally need:
- a CAN interface or USB-to-CAN adapter
- a CAN_H connection
- a CAN_L connection
- a shared ground when the hardware requires it
- correct termination
- the bus bitrate
- software for your adapter
- a DBC file if you want decoded signal names and values
This guide uses Linux SocketCAN because the commands are short and easy to understand. The same steps also apply to vendor tools: connect, configure, listen, verify, and then transmit.
Step 1: Check the wiring
Connect CAN_H to CAN_H and CAN_L to CAN_L. Do not guess connector pins. Use the wiring document for the target and adapter.
A high-speed CAN bus normally has one 120 ohm termination resistor at each physical end. With power removed, a correctly terminated bus often measures about 60 ohms between CAN_H and CAN_L.
Common wiring problems are:
- CAN_H and CAN_L swapped
- missing ground reference
- no termination
- too many termination resistors
- long stubs
- connecting to the wrong CAN channel
Step 2: Find the bitrate
Every node on one classical CAN bus must use compatible bit timing. Common bitrates include:
125000
250000
500000
1000000
Do not try random bitrates on a safety-critical or active vehicle network. Use the system documentation or a proper listen-only method.
Step 3: Bring up the CAN interface
Install the Linux CAN utilities if they are not already present:
sudo apt install can-utilsConfigure can0 for 500 kbit/s:
sudo ip link set can0 down
sudo ip link set can0 type can bitrate 500000
sudo ip link set can0 up
Check the interface:
ip -details link show can0You should see that the interface is up and the configured bitrate is correct.
Step 4: Listen before you send
Start a raw CAN monitor:
candump can0Typical output looks like:
can0  123   [8]  40 1F 00 00 01 00 00 00
can0  220   [4]  10 00 7D 00
If you see traffic, the adapter, wiring, and bitrate are probably close to correct.
If you see no traffic, check:
- Is the target powered?
- Is the correct channel selected?
- Is the bitrate correct?
- Are CAN_H and CAN_L correct?
- Is the interface in bus-off state?
- Does the network only transmit after a wake-up or request?
Step 5: Record a CAN log
Record in a replay-friendly candump format:
candump -L can0 > capture.logStop the recording with Ctrl+C.
The log contains timestamps, interface names, CAN IDs, and payloads:
(1784016000.123456) can0 123#401F000001000000Keep the raw log. It is your source evidence when the DBC or decoding code changes later.
Step 6: Send a test frame on a bench network
Only transmit when you own the test setup and know the expected IDs.
Send one standard 11-bit frame:
cansend can0 123#1122334455667788For a safe software-only test, create a virtual CAN interface:
sudo modprobe vcan
sudo ip link add dev vcan0 type vcan
sudo ip link set vcan0 up
Open one terminal:
candump vcan0Send from another:
cansend vcan0 123#11223344This lets you practice without physical hardware.
Step 7: Decode frames with a DBC file
Raw bytes are useful, but a DBC file can turn them into engineering values.
Install cantools:
python -m pip install cantoolsDecode a recorded log in the terminal:
python -m cantools decode vehicle.dbc < capture.logOr open the DBC in a viewer first. Confirm message IDs, signal positions, scale, offset, units, byte order, and multiplexing.
Step 8: Add filters
Large networks can produce too much output. Filter one ID with candump:
candump can0,123:7FFThis matches standard ID 0x123 using an 11-bit mask.
Use filters early in debugging. A short, focused log is easier to understand than several million unrelated frames.
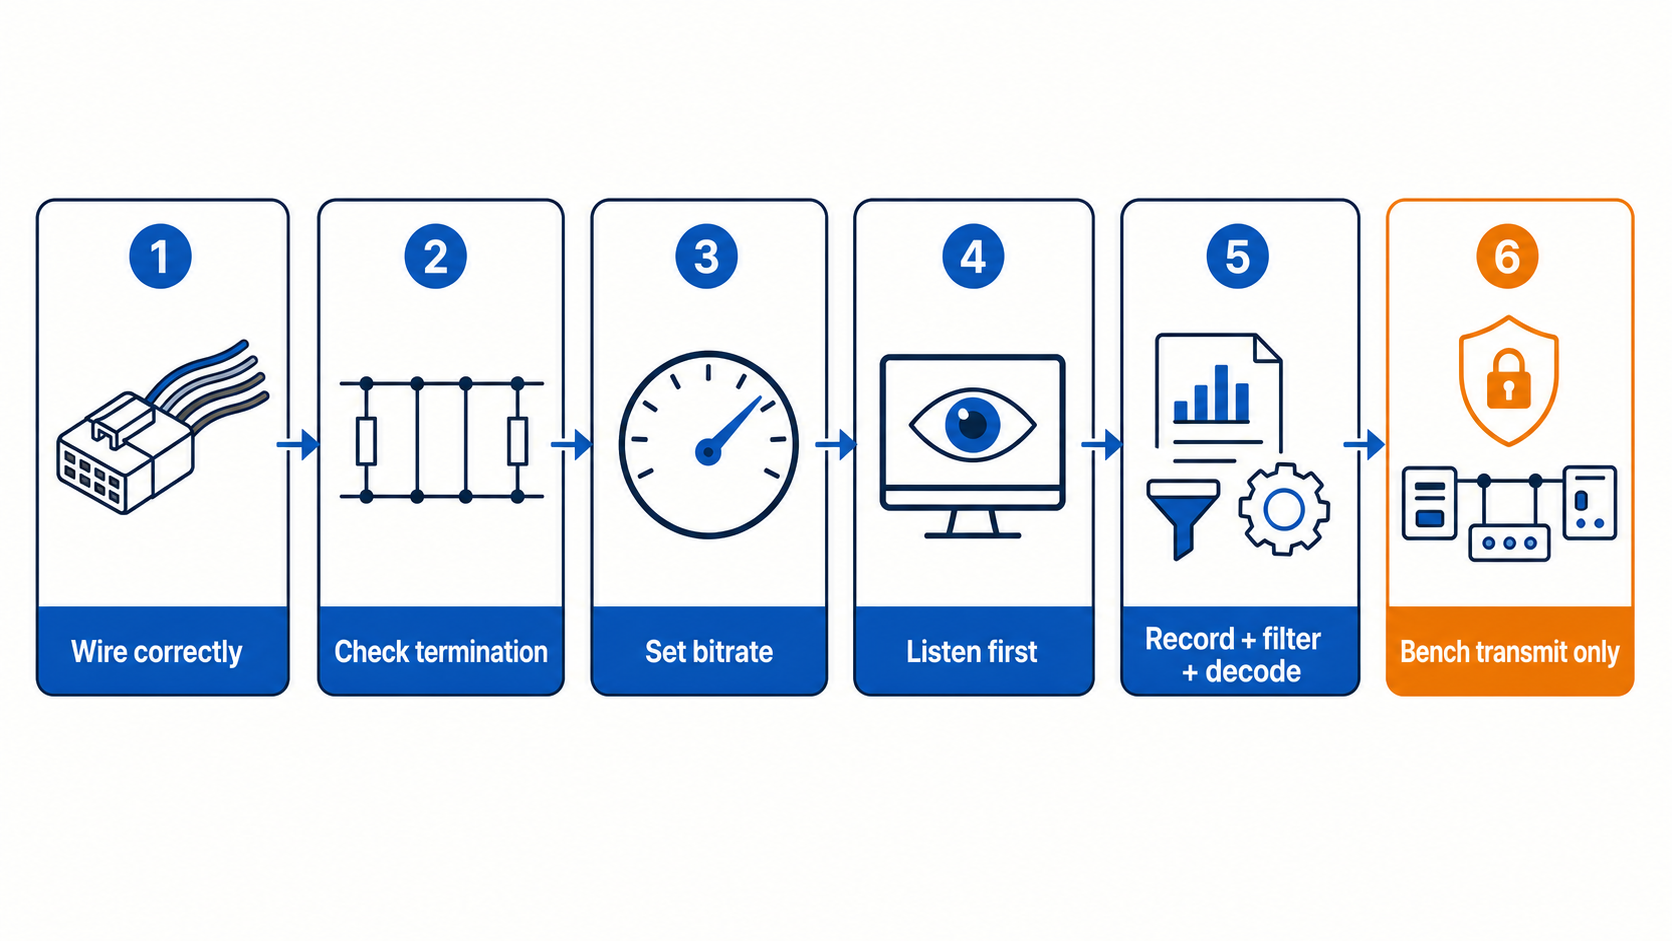
A safe beginner workflow
check wiring
-> set bitrate
-> listen only
-> record raw frames
-> filter known IDs
-> inspect the DBC
-> decode values
-> transmit only on an approved test setup
Common mistakes
- Using the wrong bitrate
- Forgetting termination
- Sending before understanding the network
- Treating a 29-bit ID as an 11-bit ID
- Decoding with the wrong DBC version
- Ignoring timestamps
- Assuming a silent bus is broken when it is waiting for wake-up
The simple summary
To use CAN bus, first make the physical connection correct. Configure the bitrate, listen for raw traffic, record a small log, and then decode it with the right database. Keep the first test read-only. Once the network is understood, add controlled transmit behavior on a bench setup.